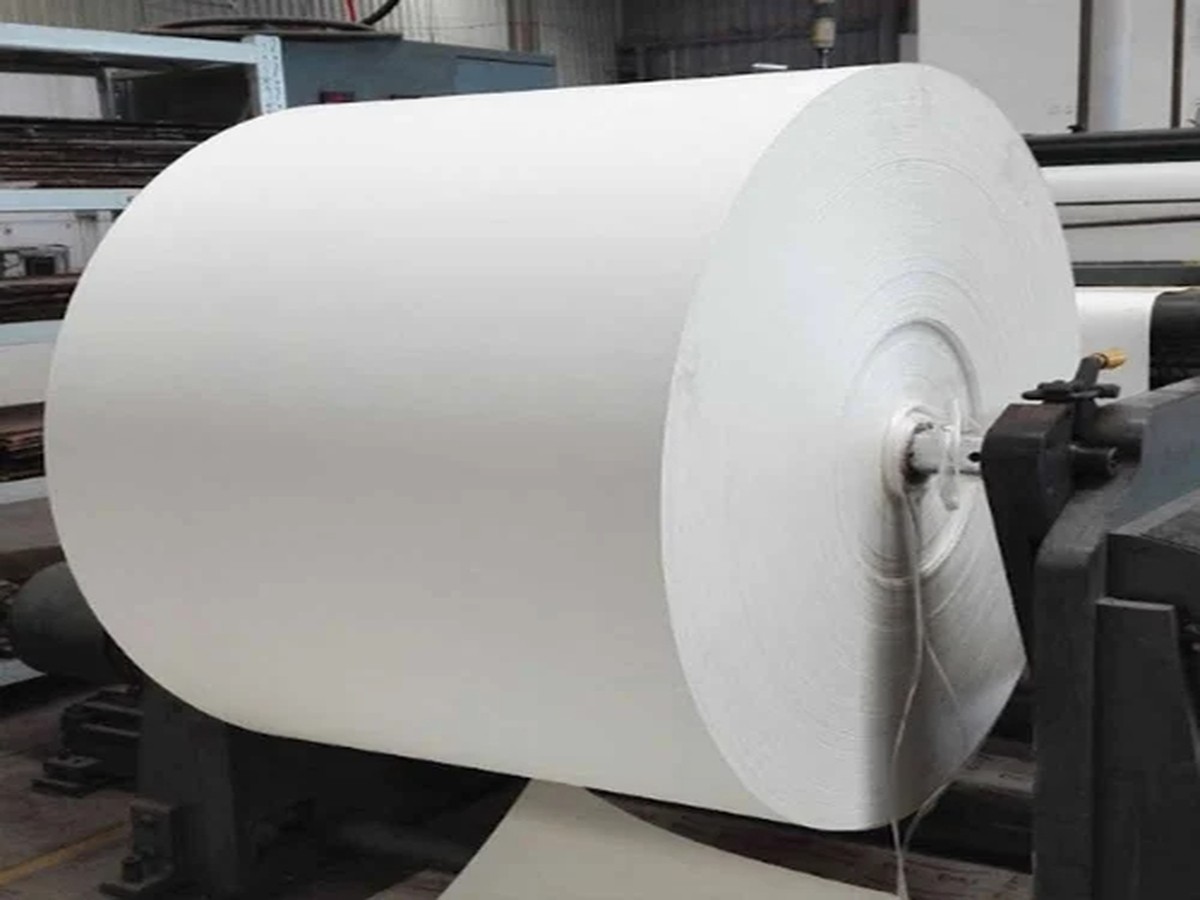
Two converters can run the same artwork on the same paper grade and still deliver completely different finished packaging. The difference is rarely a single process - it is the way material, printing, converting and logistics are connected.
This guide walks through a printed paper packaging order as it actually happens on the production floor, stage by stage, and explains what buyers should verify at each one.
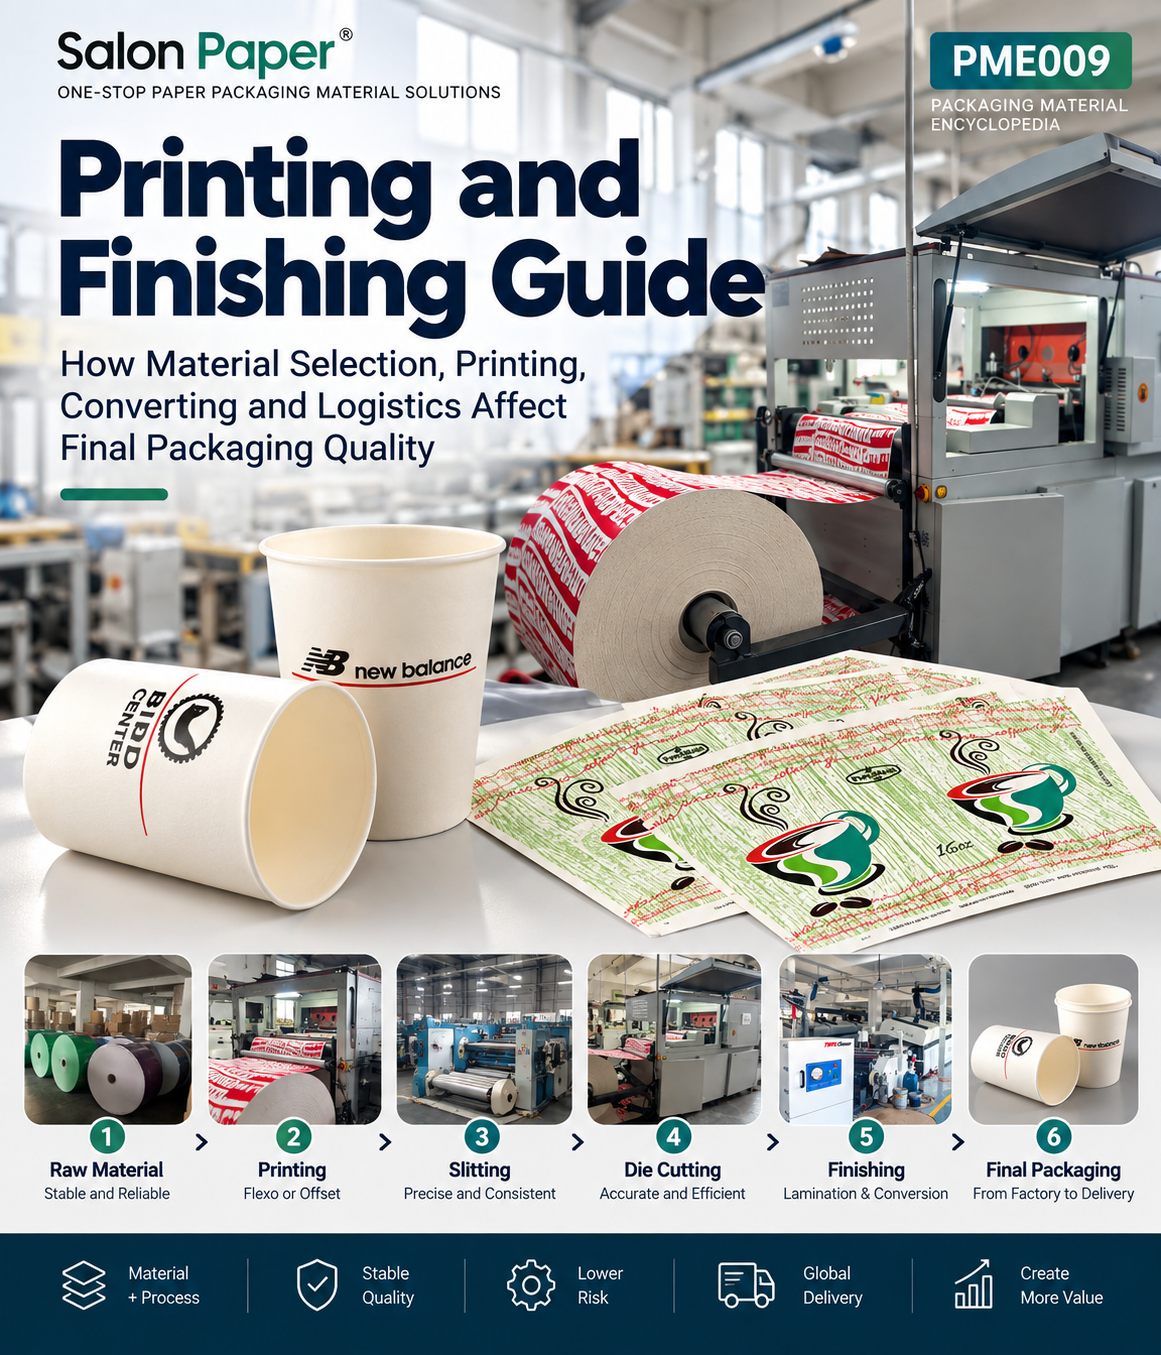
The Six Stages of a Paper Packaging Order
Every printed paper packaging item - a cup, a box, a card deck, a food container - passes through the same six stages. Each stage has one job, and each one can quietly damage the final result.
| Stage | What it does | What it protects |
|---|---|---|
| 1. Raw Material | Base paper, coating and film selection | Stable, reliable performance |
| 2. Printing | Flexo or offset, ink and registration control | Colour accuracy and brand consistency |
| 3. Slitting | Rewinding master rolls to finished width | Precise, consistent feeding |
| 4. Die Cutting | Cutting blanks and fan shapes to size | Accurate, efficient forming |
| 5. Finishing | Lamination, coating and conversion | Barrier, appearance and durability |
| 6. Final Packaging | Packing, palletising and shipping | The quality you already built |
1. Raw Material: Everything Starts Here
The six-stage process actually begins before any machine runs. Board grade, fibre structure, coating type and film selection decide what the printing and converting stages are capable of in the first place. A sheet with unstable formation will not hold register; a low-grammage board will crack on the die cutter.
What buyers should verify:
- Board grade and GSM are matched to the forming method and the finished use
- Coating type (PE, PLA or water-based barrier) is matched to the food contact and recycling requirements
- The supplier can show material declarations and batch-level consistency, not only a sample
2. Printing: Flexo or Offset
Printing is where most quality complaints originate, and most of them are process problems rather than ink problems.
Flexographic printing is the standard choice for cups, food containers and high-volume paper packaging. It runs fast on roll stock, works well with water-based inks, and integrates with inline converting.
Offset printing gives finer detail and smoother gradients, which is why it is common for premium boxes, card decks and gift packaging printed on sheet stock.
At this stage, what matters is not the process name but the controls behind it: registration tolerance, ink adhesion on coated surfaces, white underprint on metallic or holographic board, and colour consistency across the whole run. On metallic substrates in particular, printing is a sequence - white underprint first, then colour - and skipping or thinning the underprint is one of the most common causes of dull, patchy results.
3. Slitting: Precision That Decides Machine Uptime
Slitting looks like a simple step and is treated as one. It is not. Web width tolerance, edge quality and winding tension decide whether the material feeds properly on the customer's line.
- Width tolerance - a few tenths of a millimetre outside spec produces scrap on high-speed cup lines
- Edge quality - rough edges cause dust, web breaks and coating damage
- Winding tension - too loose and the roll telescopes; too tight and the coating blocks or stretches
A material that arrives with the right GSM but the wrong slit width is still unusable. This is why slitting belongs in the quality conversation, not only in logistics.
4. Die Cutting: Accuracy and Efficiency
Die cutting converts printed sheets or reels into the blanks that the forming machine will actually use - cup fan shapes, box outlines, card decks, tray blanks. Two things decide the outcome: cutting accuracy and tooling condition.
Cutting accuracy keeps the print in register with the blank, so the artwork lands in the right place on the finished item. Tooling condition decides edge quality; worn dies produce fuzzy edges, incomplete cuts and a build-up of paper dust that then contaminates the next stage. Buyers receiving fan blanks should check that the blank geometry, print position and edge cleanliness stay consistent from the first carton to the last.
5. Finishing: Lamination and Conversion
Finishing is the stage most often ignored in supplier comparisons and most often responsible for the difference between "looks fine" and "performs fine". It covers lamination, coating, embossing, creasing and the final conversion into a semi-finished product.
- Lamination bonds a film or metallised layer to the board; bond strength decides whether the material delaminates when folded or filled
- Coating adds barrier or a specific surface effect; coating weight consistency decides performance batch to batch
- Creasing prepares the fold line; a weak or misplaced crease is the direct cause of cracked print on cup rims and box corners
Because finishing combines heat, pressure and moisture, it is also where dimensional change happens. Board that was flat on arrival can curl or shrink after lamination if the process is not controlled.
6. Final Packaging: From Factory to Delivery
The last stage protects everything built before it. Packaging, stacking, palletising and shipping decisions determine whether the quality that left the factory is the quality that arrives.
Moisture is the most common silent failure: paper packaging absorbs humidity in transit, and board that was in specification at loading can arrive soft, wavy or dimensionally changed. Good practice at this stage includes moisture-barrier wrapping, edge protection, correct stacking height and pallet stability, plus clear handling instructions for the receiving warehouse.
This is also the stage where documentation travels with the goods - packing lists, batch references and material declarations - so the receiver can connect the delivered pallet back to the production batch.
How the Six Stages Interact
| If this stage is weak | You see this later | Real cost |
|---|---|---|
| Unstable raw material | Variable forming, cracking, poor print | Scrap and line stoppages |
| Weak printing control | Colour drift, patchy metallic areas | Rejected brand packaging |
| Slitting out of tolerance | Material will not feed cleanly | Downtime, wasted metres |
| Worn or inaccurate dies | Fuzzy edges, offset blanks, dust | Rework and machine wear |
| Uncontrolled finishing | Cracking, delamination, curl | Claims and returns |
| Poor final packing | Moisture damage after arrival | Total loss of the batch |
What to Check When Auditing a Supplier
- One accountable process owner for the whole chain, not six separate subcontractors with no shared standard
- Batch traceability from base paper to delivered pallet
- In-process checks at printing register, slit width, die-cut geometry and lamination bond
- Material declarations for food contact, and clear testing scope rather than a generic certificate
- Packing and moisture protection procedures that match the destination climate and transit time
Salon Paper Perspective
Salon Paper works as a paper processing partner rather than a single-stage supplier: coating, laminating, metallising, slitting, die cutting and finishing are carried out as one connected chain, so responsibility for the finished material does not stop at the factory gate.
If you are sourcing printed paper packaging - cup stock, cup fan blanks, card paper, metallic board, food packaging paper - tell us the finished product and the destination market. We will confirm the material structure, the converting route and the documentation that fits your market, and send samples for you to run on your own line.